

How to deploy your Django app to Heroku

Python Developer | Audio Editor | Technical Writer | OSS Contributor | Tag Moderator @ @ThePracticalDEV | Valorant TonyPoppins #881488
Deploying a Django app to Heroku can be a walk in the park for some developers. But for some developers, it seems like they're going through a rough time when they're deploying their Django app. To tell you honestly, I also had a hard time deploying my first Django app in Heroku, but I managed to get through it after a while.
We only need 3 accounts, and if you haven't registered yet to Heroku, AWS & GitHub/GitLab, please do so to continue.
Cookiecutter-Django makes deployment to Heroku way too easy. All the commands are laid out on their documentation, and we don't even need to touch anything on our config/settings.py file. We're still able to deploy our app.
Make sure you commit your changes to GIt and have the Heroku CLI installed first. If you have it, then run.
$ heroku login
heroku: Press any key to open up the browser to login or q to exit:
After pressing any key, it'll take you to the login page of Heroku to login.
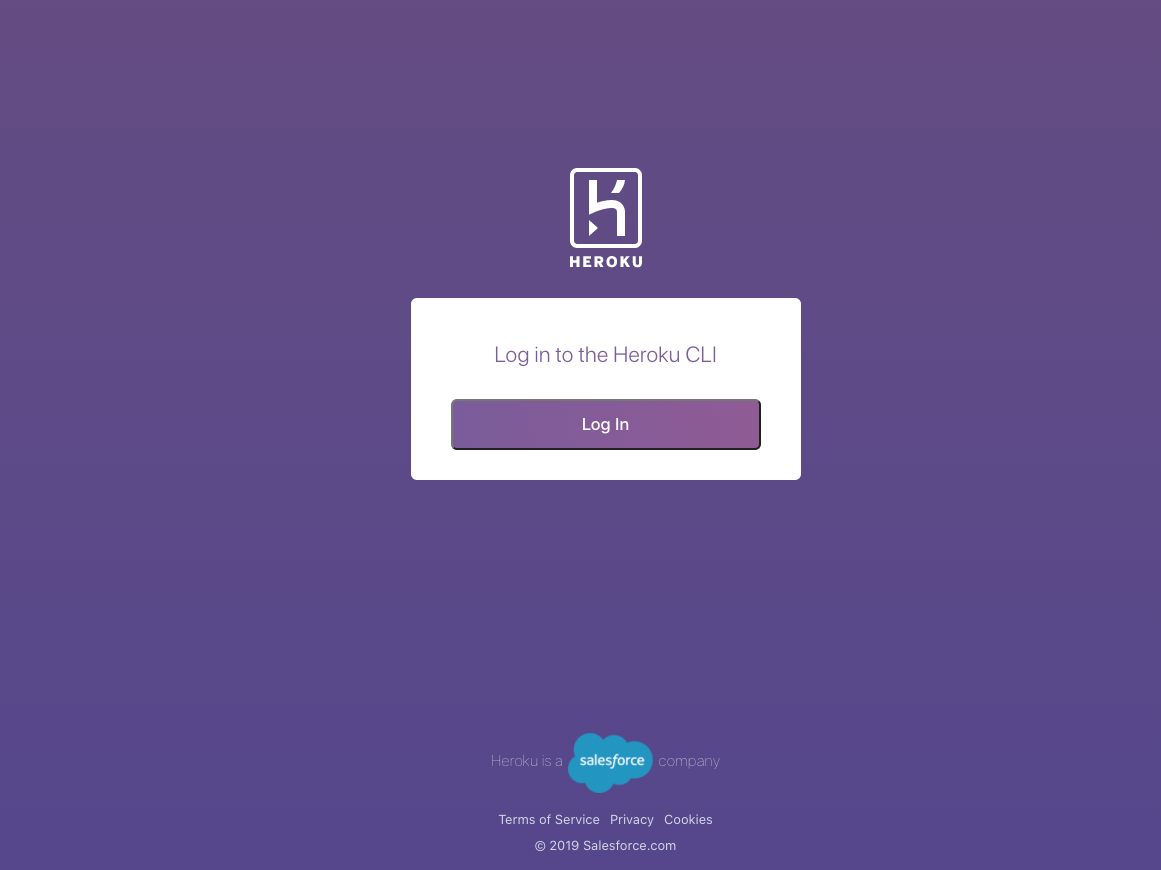
After logging in, you can go back to your command line and run these commands from the Cookiecutter-Django docs: https://cookiecutter-django.readthedocs.io/en/latest/deployment-on-heroku.html.
To gain more understanding of what these are, you can go and scan this page. https://cookiecutter-django.readthedocs.io/en/latest/settings.html
$ heroku create --buildpack https://github.com/heroku/heroku-buildpack-python
$ heroku addons:create heroku-postgresql:hobby-dev
# On Windows use double quotes for the time zone, e.g.
# heroku pg:backups schedule --at "02:00 America/Los_Angeles" DATABASE_URL
$ heroku pg:backups schedule --at '02:00 America/Los_Angeles' DATABASE_URL
$ heroku pg:promote DATABASE_URL

$ heroku addons:create heroku-redis:hobby-dev

$ heroku addons:create mailgun:starter

$ heroku config:set PYTHONHASHSEED=random

$ heroku config:set WEB_CONCURRENCY=4

$ heroku config:set DJANGO_DEBUG=False
$ heroku config:set DJANGO_SETTINGS_MODULE=config.settings.production
$ heroku config:set DJANGO_SECRET_KEY="$(openssl rand -base64 64)"

# Generating a 32 character-long random string without any of the visually similar characters "IOl01":
$ heroku config:set DJANGO_ADMIN_URL="$(openssl rand -base64 4096 | tr -dc 'A-HJ-NP-Za-km-z2-9' | head -c 32)/"

# Set this to your Heroku app url, e.g. 'bionic-beaver-28392.herokuapp.com'
$ heroku config:set DJANGO_ALLOWED_HOSTS=

# Assign with AWS_ACCESS_KEY_ID
$ heroku config:set DJANGO_AWS_ACCESS_KEY_ID=

# Assign with AWS_SECRET_ACCESS_KEY
$ heroku config:set DJANGO_AWS_SECRET_ACCESS_KEY=

# Assign with AWS_STORAGE_BUCKET_NAME
$ heroku config:set DJANGO_AWS_STORAGE_BUCKET_NAME=

$ git push heroku master

$ heroku run python manage.py createsuperuser

$ heroku run python manage.py check --deploy

$ heroku open
If you encounter a warning, add this to your config/production.py settings then push your repo to Heroku again.
SECURE_REFERRER_POLICY = 'same-origin'
After running these commands and following how it was laid out, you would see your app on '<your_app_name>.herokuapp.com.'
You can find mine here: https://quiet-citadel-68595.herokuapp.com/ And the repo to this tutorial here: https://github.com/reyesvicente/cookiecutter-blog-tutorial-learnetto
Cheers!
Hope you learned a thing or two!


