

Showing the data we created on the frontend

Python Developer | Audio Editor | Technical Writer | OSS Contributor | Tag Moderator @ @ThePracticalDEV | Valorant TonyPoppins #881488
Now that we've created the data for our blog, we'll learn how to show it using the Django ORM in this chapter. Wait, what? O-R, what?
The Django ORM gives a convenient way to access the database. It stands for Object Relational Mapper. In other words, it's an easier way to get data from the database. Instead of making SQL queries, it maps the attributes of objects to their respective tables. By mapping the data to the individual table using ORM, we're writing SQL queries, but we're not.
Take note that I tweaked the UI a little to make our frontend prettier.
On our homepage, we are showing 4 lists of blogs we created in the python shell. To map it using the Django ORM, we'll create a for loop that grabs the context_object_name we specified in the views.py of our BlogListView. In fact, use each of the context_object_name we specified in each of the views that we created to grab our database's data. Isn't it easy?
# pages/home.html
<div class="row row-cols-1 row-cols-md-2">
  {% for post in posts %}
    <div class="col mb-4">
    <div class="card h-100 bg-light">
      <div class="card-body bg-dark">
        <h3 class="card-title text-center">
        <a href="{% url 'blog-detail' post.slug %}">{{ post.title }}</a></h3>
        <img style="height: 200px; width: 100%; display: block;" src="{{ post.image.url }}" class="card-img-top" alt="...">
        <p class="card-text text-center p-3">{{ post.overview }}</p>
      </div>
      <div class="card-footer text-center">
            <small class="text-muted">{{ post.created_on }}</small><br />
          {% for category in post.categories.all %}
            <span class="p-2">
          <a href="{% url 'categories' category.title %}">
               #{{ category.title }}
          </a>
        </span>
           {% endfor %}
      </div>
    </div>
    </div>
  {% endfor %}
 </div>
Notice the nested for loop for the categories? We use a for loop to loop through the data we created. Talk about how Django utilizes the DRY principle, can you?
On the post detail page, since we only are looping through each post's categories, we can still call the ORM data even if we won't use a for loop.
# pages/post_detail.html
{% load static humanize %}
<header class="container">
  <h1 class="text-center mt-5 mb-3 text-dark">{{ post.title }}</h1>
  <div class="text-center pb-3 font-weight-bold">
    <small class="text-center text-secondary">Date posted: <i>{{ post.created_on }}</i></small>
  </div>
  <div class="text-center pb-3 font-weight-bold text-secondary">
    {% for category in post.categories.all %}
    <span class="p-2">
      <a href="{% url 'categories' category.slug %}">
        #{{ category.title }}
      </a>
    </span>
    {% endfor %}
  </div>
</header>
<section class="container">
  <article>
    <div class="card mb-3 bg-light">
    <img src="{{ post.image.url }}" class="card-img-top" style="height:40vh;" alt="...">
      <div class="card-body bg-dark">
        <p class="card-text">{{ post.body|safe }} </p>
      </div>
    </div>
  </article>
</section>
We're calling the categories in the a tag of the category for loop to loop through it to show all the available categories that we specified in a specific post. Then we call category.slug to help us get the right url for the post we asked for.
# pages/category_list.html
<article>
  <h1 class="text-center mt-5 mb-5 text-dark">Category: {{ category | title }}</h1>
      <div class="row row-cols-1 row-cols-md-3">
        {% for post in posts %}
          <div class="col mb-4 text-center">
            <div class="card h-100 bg-light">
               <img src="{{ post.image.url }}" style="height: 200px; width: 100%; display: block;" class="card-img-top" alt="...">
                <div class="card-body bg-dark">
                  <h3 class="card-title"><a href="{% url 'blog-detail' post.slug %}">{{ post.title }}</a></h3>
                    {% for category in post.categories.all %}
                      <span class="p-1"><a href="{% url 'categories' category.slug %}">#{{ category.title }}</a></span>
                    {% endfor %}
                    <p class="card-text p-2">{{ post.overview }}</span>
                </div>
                <div class="card-footer">
                <small class="text-muted">Published on: {{ post.created_on }}</small>
             </div>
           </div>
          </div>
        {% endfor %}
      </div>
</article>
On our pages/category_list.html, we specify in our h1 tag the title of the category we query. We did it by mapping through {{ category.title }}. Then, we use a for loop to filter the posts the current category we asked for using the blog_category function based view.
posts = Post.objects.filter(
        categories__slug__contains=category
    )
The projects page goes the same as the other pages, so you should be able to at least have a basic understanding already of how to query the ORM from the HTML templates.
Our contact page only uses 5 lines of code to make it function since Cookiecutter-Django includes an alert on the pages/base.html template:
{% if messages %}
{% for message in messages %}
<div class="alert {% if message.tags %}alert-{{ message.tags }}{% endif %}">{{ message }}<button type="button" class="close" data-dismiss="alert" aria-label="Close"><span aria-hidden="true">×</span></button></div>
{% endfor %}
{% endif %}
And as we specified on our ContactFormView that we want the alert to be shown once the form has been submitted, it uses the alert on the base.html template since we extended the contact.html template from the base.html.
{% extends 'base.html' %}
{% load crispy_forms_tags %}
{% block content %}
<div>
  {% csrf_token %}
  {% crispy form %}
</div>
{% endblock content %}
However, once we submit the form, the form should not be on the page but just the success message.
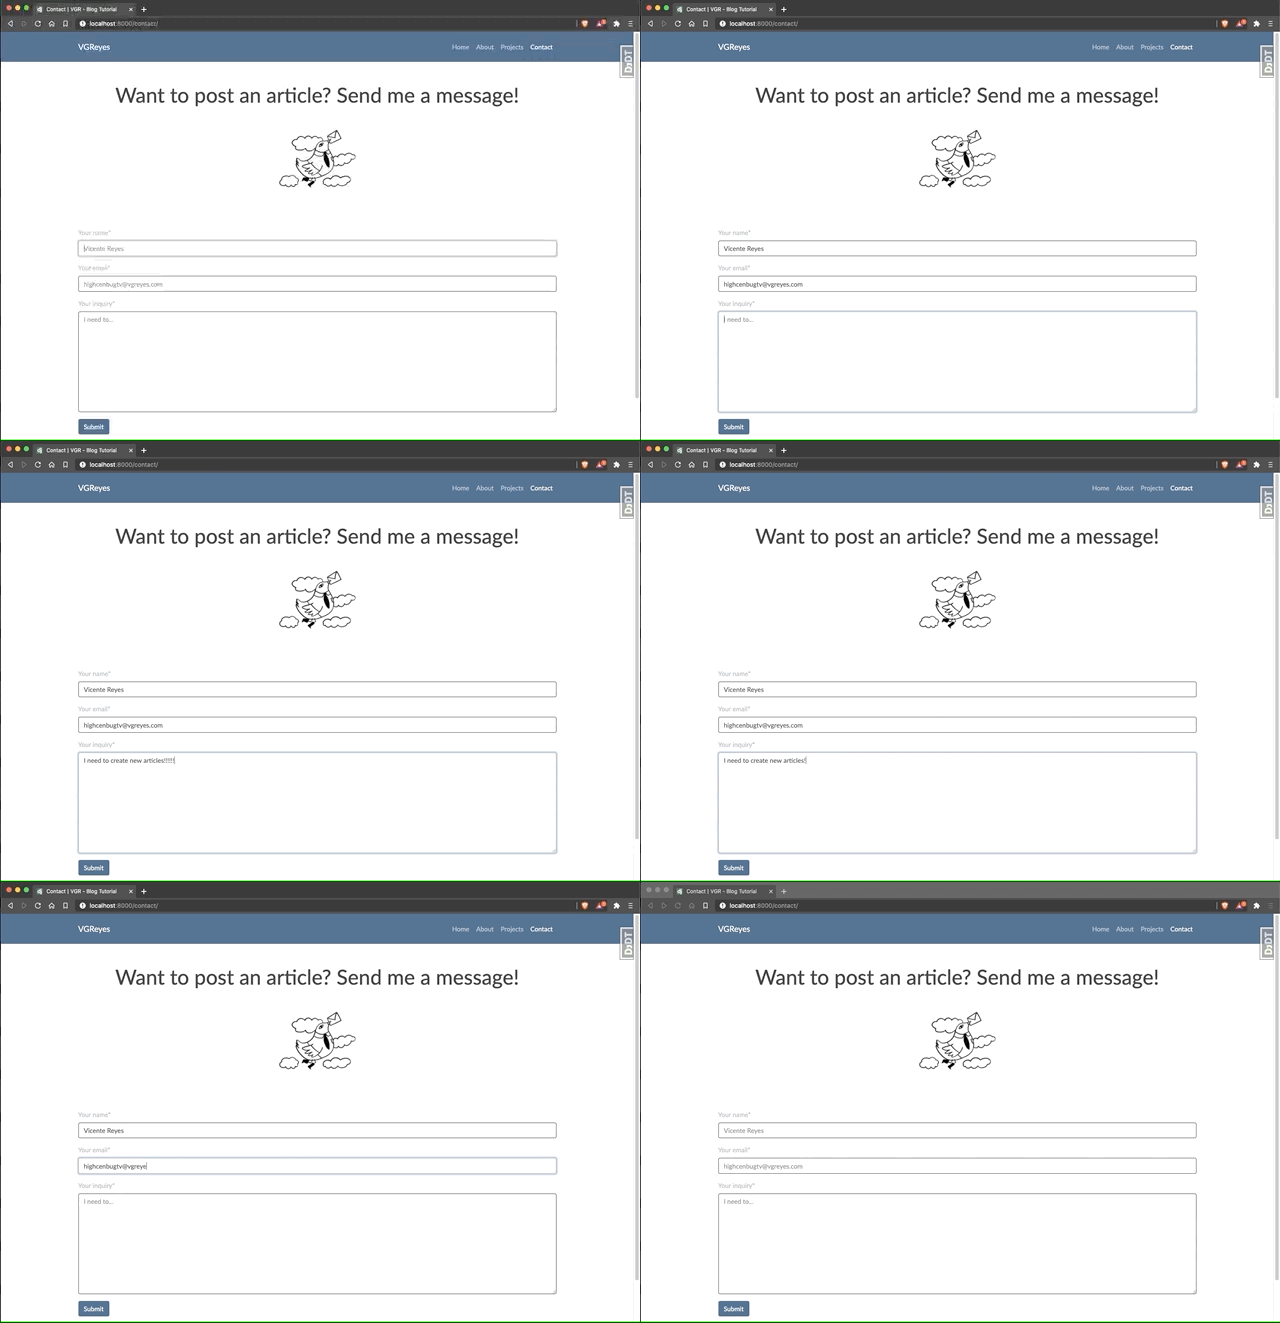
To fix this, we'll add this:
<div class="py-5 mb-1">
  {% if messages %}

  {% else %}
<div>
  {% csrf_token %}
  {% crispy form %}
</div>
{% endif %}
</div>
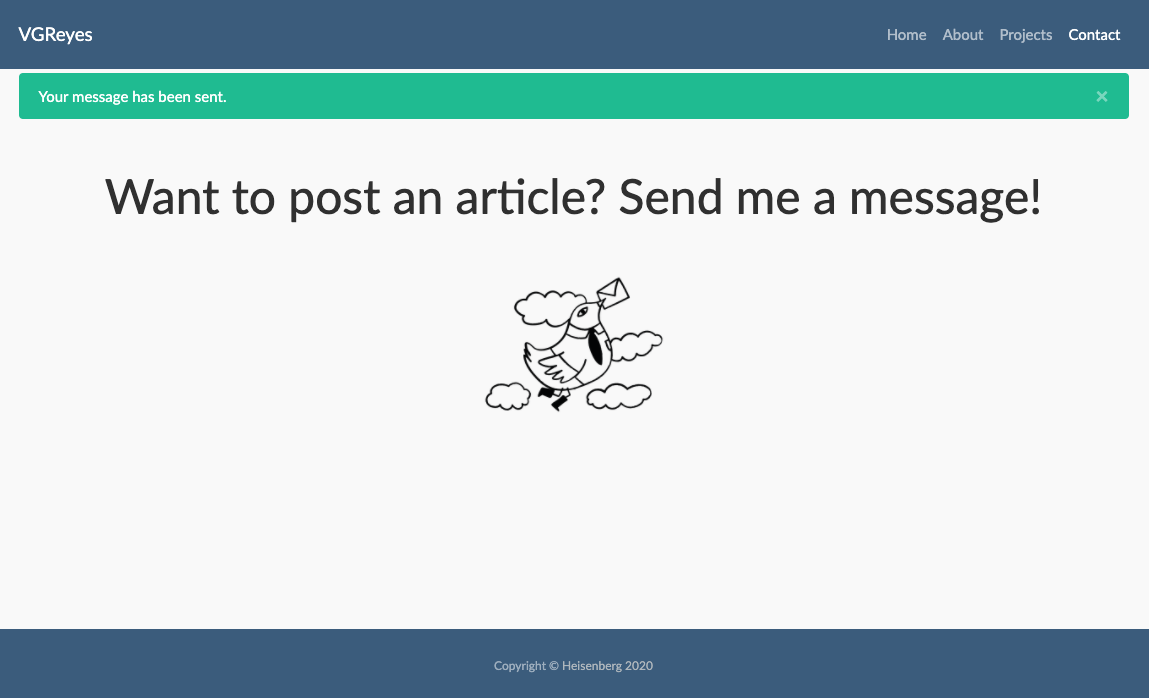
We can move the alert on the base.html too. Do it if you want to. I won't since I would be needing the alert for new features on this blog.
One last important thing on the form is the {% csrf_token %} template tag. It's the simplest way Django provides to protect us from Cross-Site Request Forgery.
According to Django's documentation, This type of attack occurs when a malicious website contains a link, a form button, or some JavaScript that is intended to perform some action on your website, using the credentials of a logged-in user who visits the malicious site in their browser. We also won't be able to deploy our project to Heroku once if we don't include that once we run a command that I'll show in a while.


